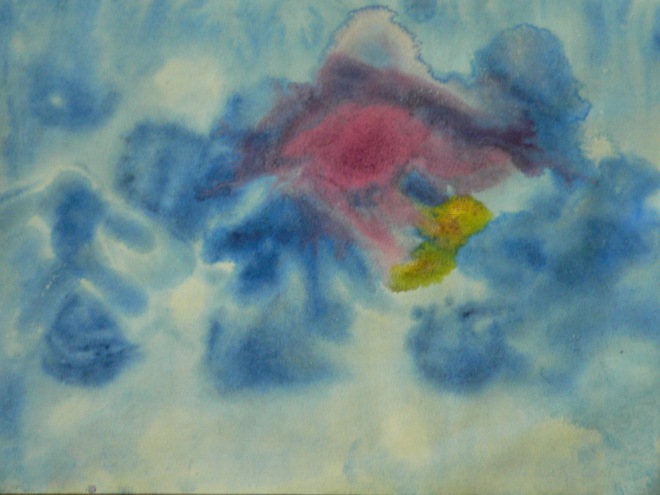
Wet-on-Wet Watercolour 3, Complimentary colours

Over the past few weeks, following working with red and yellow, we continued with red, creating orange and purple or violet.

Red and yellow make orange 1

In this painting carmine red is painted down from the top, and golden yellow from below. In the middle orange is created (Anusha didn’t succeed very well with creating the gradations of colour in this one) as they happily mix together.

Red and blue make violet 2

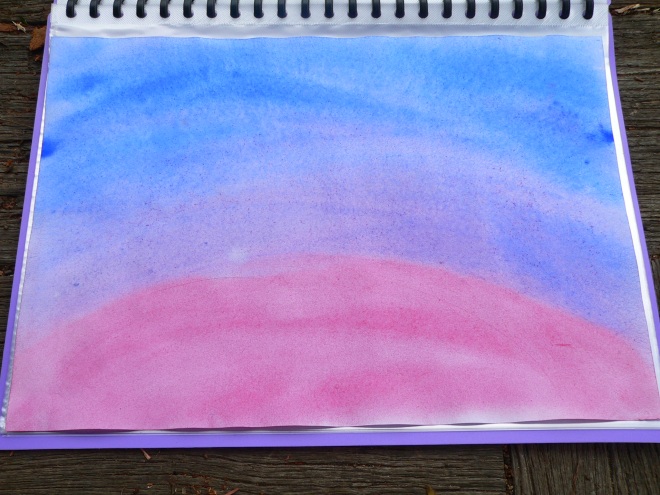
Next we created violet. Anusha really enjoyed creating this beautiful colour. We started by painting a hill with carmine red, and then from above, cooling ultramarine blue sinks down from the sky.

Red and blue make violet 3

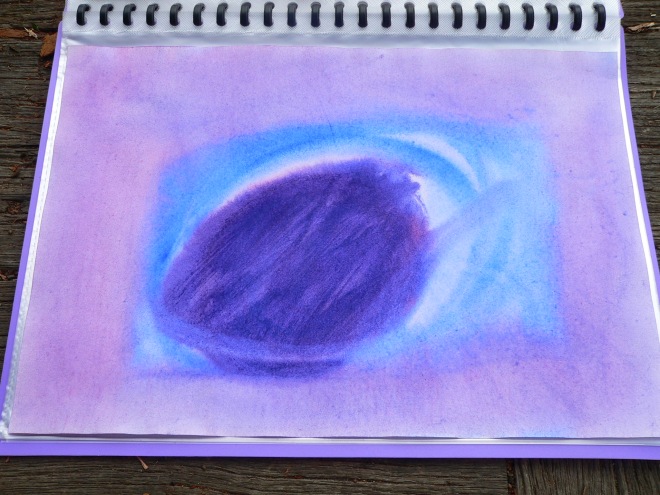
Again creating a gorgeous shade of violet, we painted a shape in the middle by mixing weaker carmine red (to do this I just tell Anusha not to touch the unmixed stronger paint at the bottom of the jar) with stronger ultramarine blue. Blue then spreads out over the rest of the paper, and red comes in from the edges mixing with the blue to form a violet border.
After working with the three primary colours, and having created the secondary colours, we moved on to paintings with complimentary contrasts.

Complementary exercise 1 red and green 4

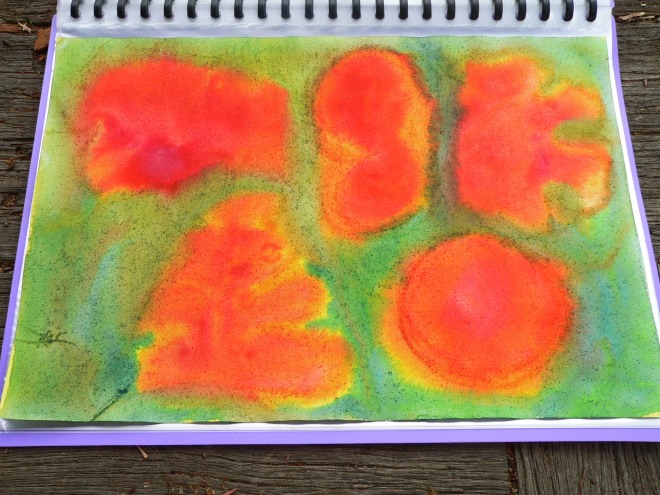
The first was the contrast between red and green. In this painting we first painted the whole sheet with lemon yellow, then formed red clouds with carmine and vermillion red. Next we went over the yellow around the clouds, and then added prussian blue to create green.

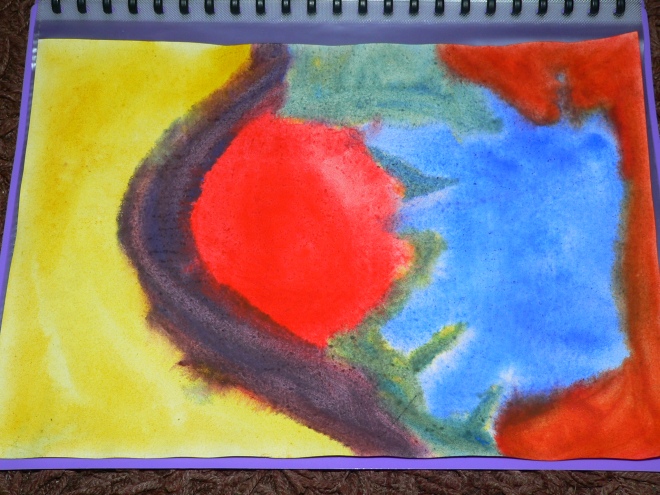
Complementary exercise 1 blue and orange 5

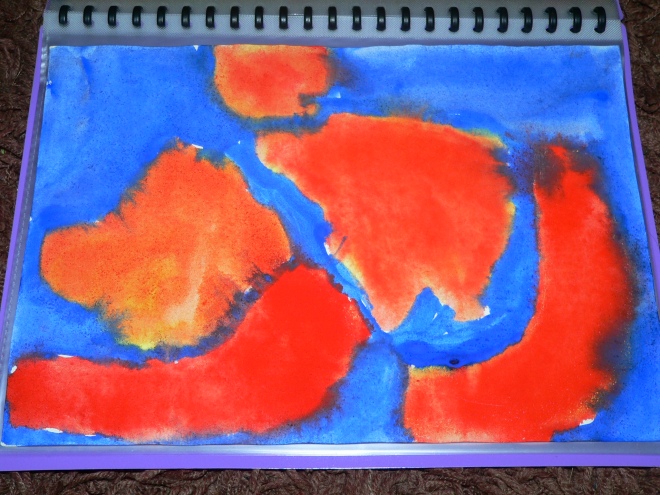
The second contrast was between orange and blue. We started by making golden yellow clouds on our page, and then added vermillion red to change them to orange. Finally ultramarine blue came along and surrounded the clouds.

king of irelands son 10

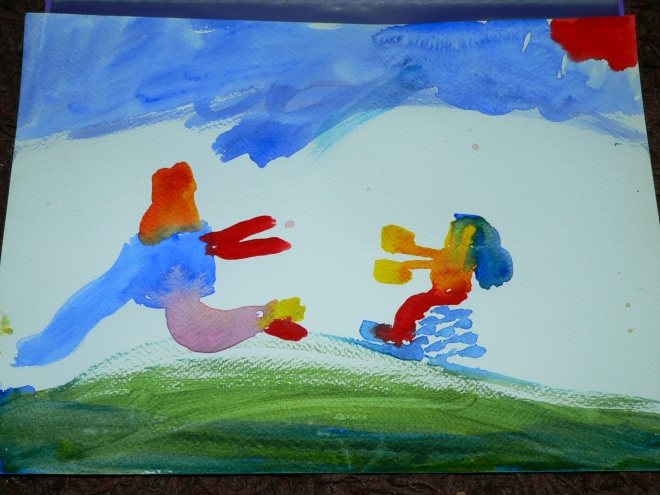
Whilst painting over the past few weeks Anusha has started her language/arts block on The King of Ireland’s Son. One of her free paintings that she did was a scene from the story in which the king of Ireland’s son is playing cards with the enchanter of the black back-lands.

Fungi botany 9

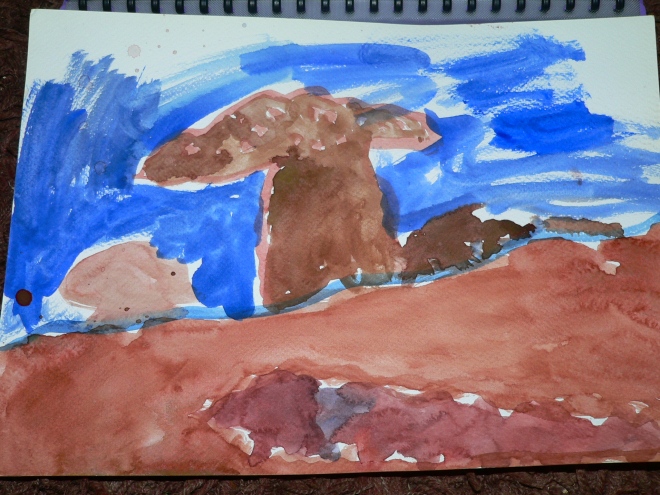
Another painting that she did was done after her lesson when I was doing some Botany painting with Elki. This is her painting of fungi, which I really love.

We continued with our contrasting colours paintings. As we did these paintings I talked to Anusha about which of the three secondary colours looked the most beautiful with or ‘answered’ each of the primary colours. She really understood, for example, that violet and green were too much like blue because they had blue in them, so orange was the contrasting colour that answered blue.
In the following three paintings we painted each of the primary colours with their contrasting colour.

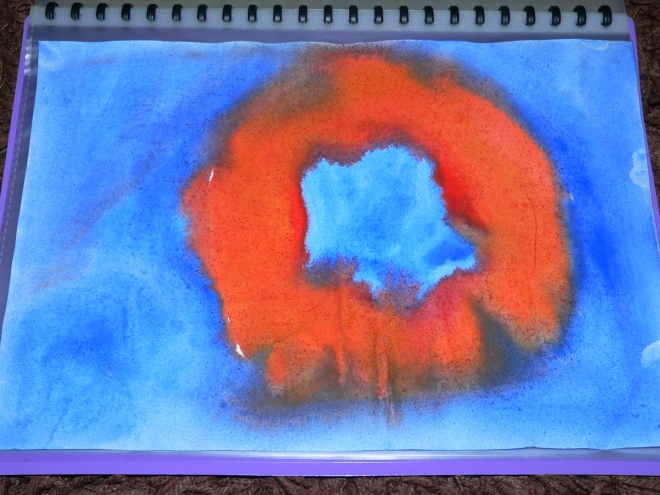
Complementary exercise 2 blue orange blue 6

Using ultramarine blue we painted a shape in the centre, surrounded it with orange by blending lemon yellow and vermillion red, and then painted blue in from the edge. We tried to paint the contrasting colours so they would touch but not blend.

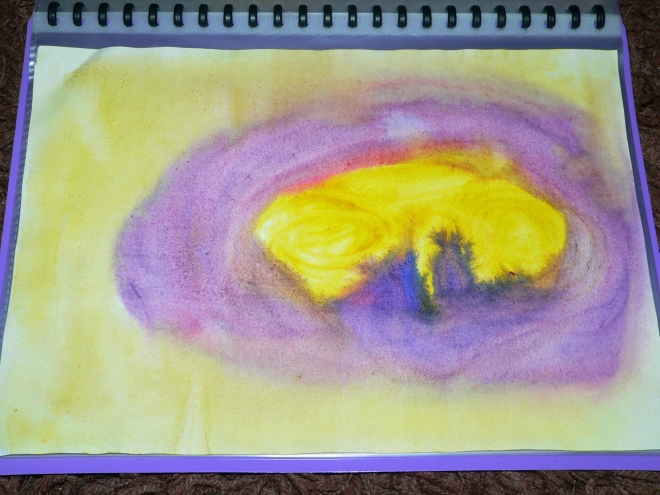
Complementary exercise 2 yellow violet yellow 7

Similarly starting with a shape in the centre using golden yellow, we surrounded it with violet by blending carmine red and ultramarine blue, and painted yellow in from the edge.

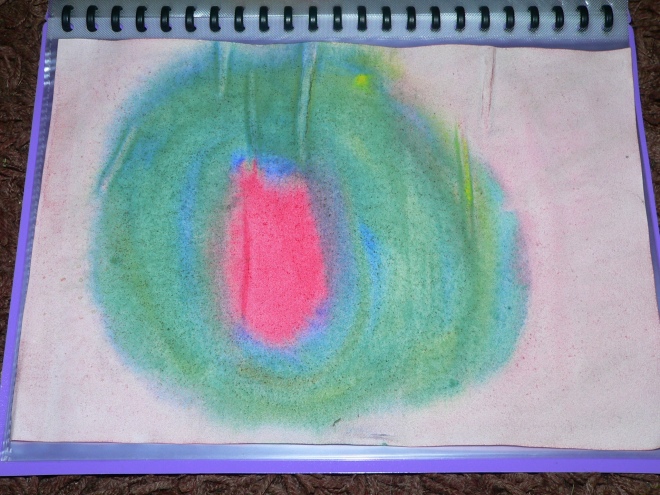
Complementary exercise 2 red green pink 8

And using carmine red we painted a stronger shape in the centre (by dipping into the lovely red goo at the bottom of the jar), surrounded it with green by blending lemon yellow and ultramarine blue, and painted a softer red in from the edge.

The last painting we have done is of all three of the primary colours with their contrasting colours on the one page.

Complementary exercise 3 answering colours 11

Anusha chose which of the paints she wanted to use for the primary colours and the secondary colour blends. We both thought these paintings looked really beautiful.
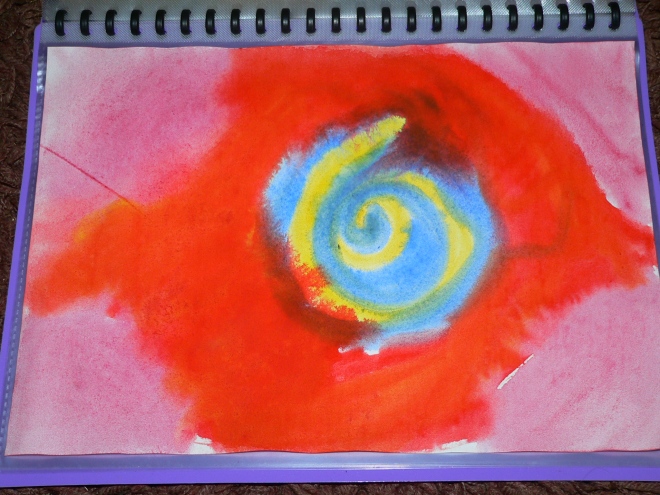
free painting 12
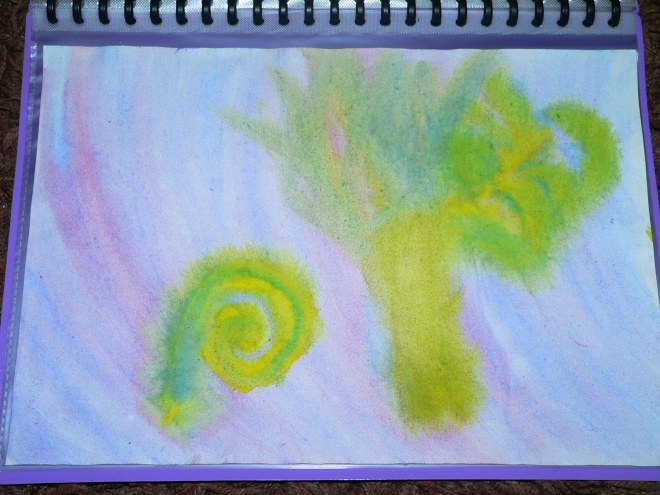
Anusha’s free painting for this lesson was a vibrant spiral.

fern botany 13

She has also done a few other paintings with her brother and I for Elki’s botany lessons. I thought this one of ferns was lovely. I better leave it there for today, over the following weeks we are going to work with the complimentary contrasting colours for a little longer and then we’ll be moving onto further blending.

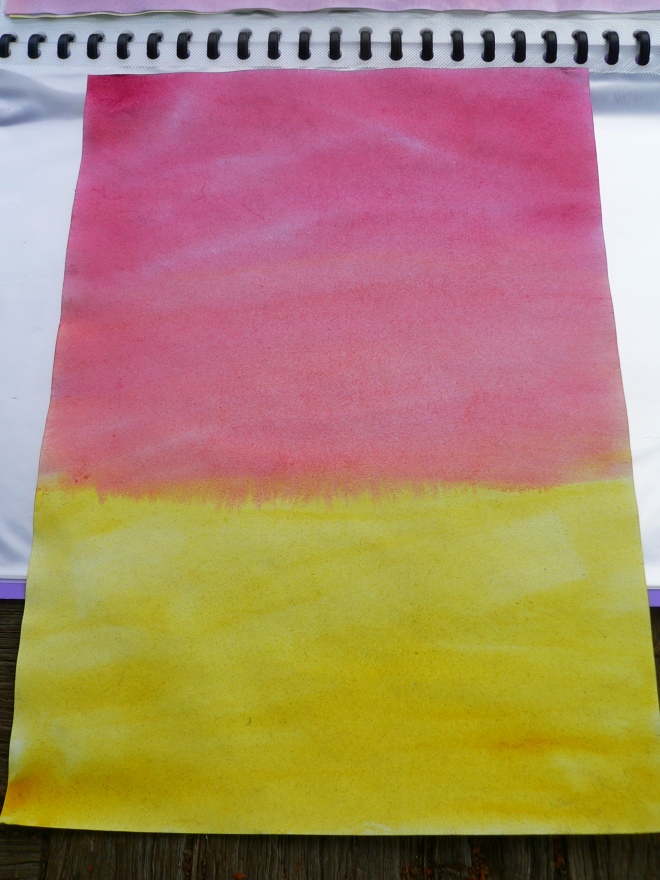


Wet-on-Wet Watercolour 2, Introducing Red

Over the past few weeks Anusha and I have been sharing a painting lesson together, about once a week. Continuing on from the introduction and exploration of yellow and blue, we then moved on to introducing hot, fiery red.

Large blue, small yellow no 1

For the last lesson working on yellow and blue form was added with a tall kingly blue and a small cheeky yellow. The tall blue was first painted in the centre and the small yellow added next to it. The blue then surrounded the yellow to calm it’s cheekiness but the yellow enjoyed this. Blue then encouraged yellow to spread his colour over the page and blend with blue at the bottom.

Free painting no 2

As I mentioned in my last post after we have finished the formal part of the lesson I encourage Anusha to spend time on a ‘free painting’ (she doesn’t actually need any encouragement!). She prefers to do these on dry paper and add more form using a finer brush.

Red no 3

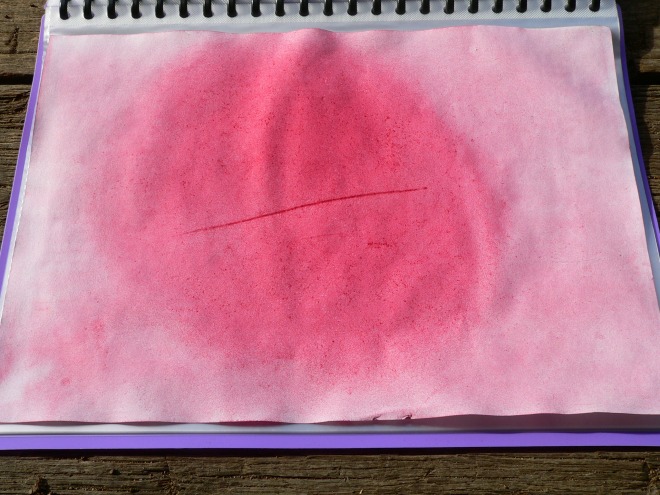
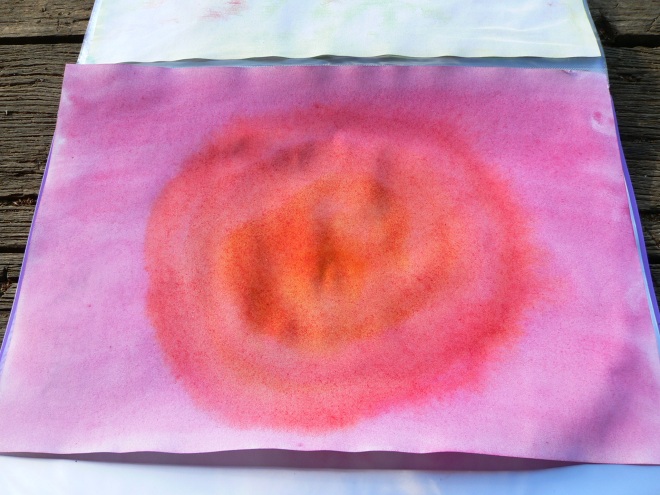
In the next lesson I introduced Red, using Carmine red. Anusha loved to see the red spread over her page. We first painted a light background, using long strokes to cover the page, and then added the intense, fiery ball in the centre, spreading out it’s edges to blend with the background.

Red with cooler surroundings no 4

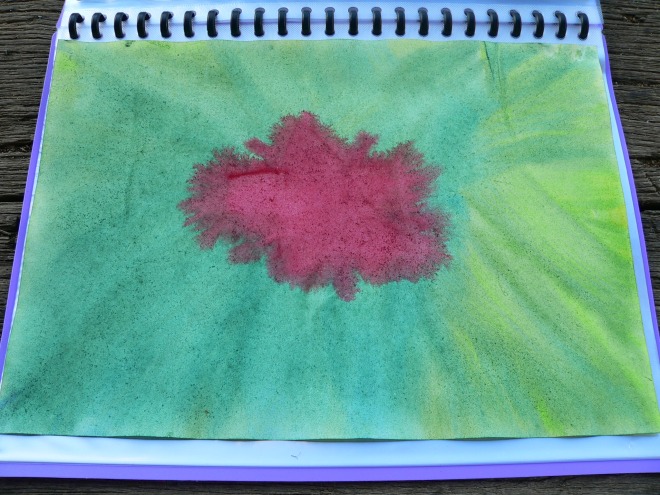
We then painted red with cooler surroundings. Beginning with yellow coming in from the edges of the paper, and blue moving outwards from the centre, followed by the hot red shape in the middle.

Red with cooler surroundings adding vermillion no 5

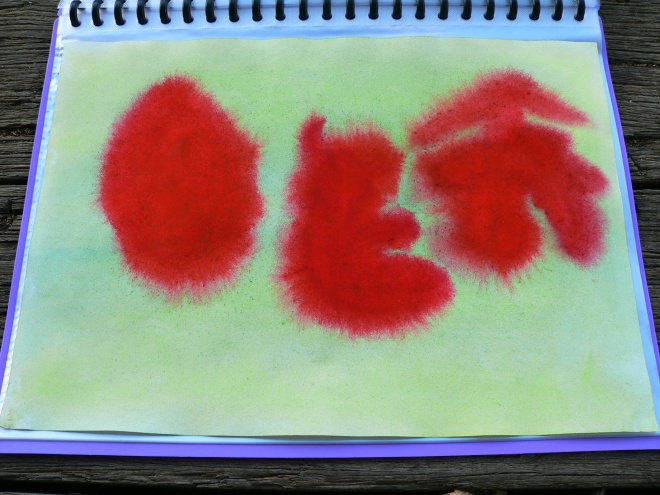
Working with cooler surroundings again, red shapes were added to a light green background. In this painting Vermillion red was added to the Carmine red giving it a brightness and cheeriness. The vermillion red really appealed to Anusha.

Free painting (2) no 6

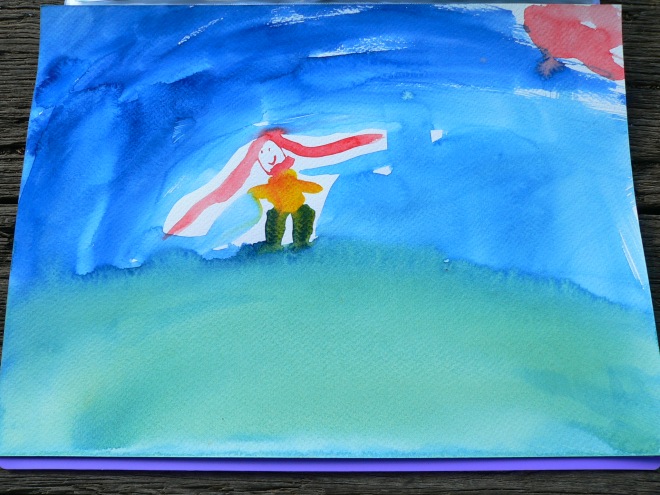
And the painting she did at the end of this lesson. I love how she paints hair, so long and flowing.

Intensifying red no 7

For the following lesson we ‘intensifyed’ the red. This lesson was done in the same way as the first lesson using red, but we added Golden yellow to the red centre at the end.

Red and yellow no 8

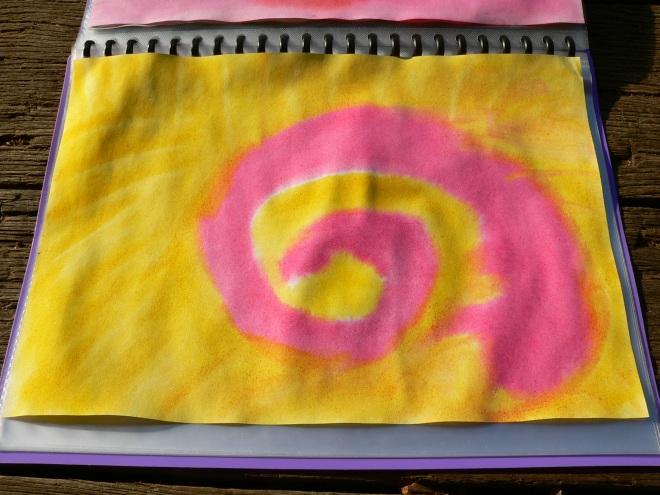
Next we worked with red and yellow using a sprial. For this we painted the red spiral first, starting from the outside, and then painted with yellow, starting from the centre. We tried to paint the colours as close together as we could without them blending.

Red and yellow adding blue no 9

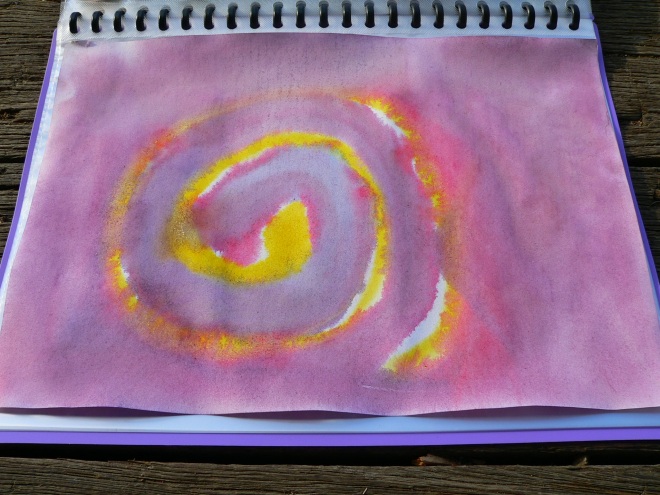
Using red and yellow again we started by painting the spiral yellow, moving out from the centre, and then using red painted inwards. To finish we added Ultramarine Blue to the red, creating the lovely purple.

Free painting (3) no 10

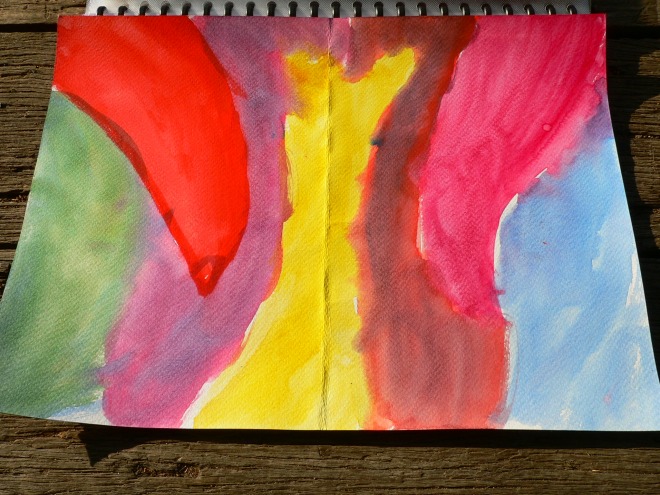
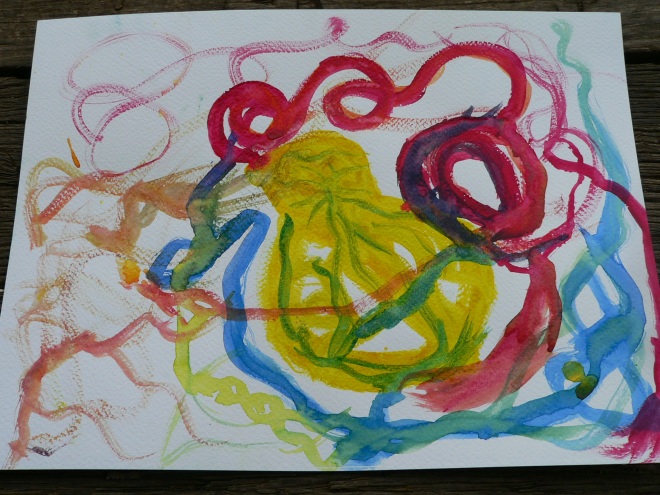
Anusha then painted this colourful picture to end our last lesson so far. Next we’ll be creating orange with the red and yellow.

Starting from the beginning – Wet-on-Watercolour 1, Yellow & Blue

This year I have started from the beginning with Wet-on-wet watercolour painting with Anusha. I have always loved wet-on-wet watercolour painting but at times have been unsure how to approach it from the earliest stages of working with primary colours. Originally starting with Elki and now with Anusha, I have approached wet-on-wet watercolour in different ways, sometimes with no direction at all, sometimes with a small amount of direction, and sometimes using stories, poems, other lessons, and imagery, to accompany the lessons.

Over the years I have purchased a couple of books to help with lessons, Painting with Children by Brunhild Muller, which I found helpful as a book to start with when first embarking on  wet-on-wet painting, and Painting in Waldorf Education by Dick Bruin and Attie Lichthart, which I have found to be a beautiful resource but not as practically helpful as what I would like. But recently I bought a book which I am absolutely loving and finding extremely informative and practical, Painting and Drawing in Waldorf Schools by Thomas Wildgruber. This book goes through the painting and drawing lessons from classes 1 – 8, including other chapters, such as, form drawing and teacher preparation.

I have now started using this book with Anusha, starting at the beginning with class 1. I hope to spend sometime each week throughout the year slowly working through the class 1 lessons.

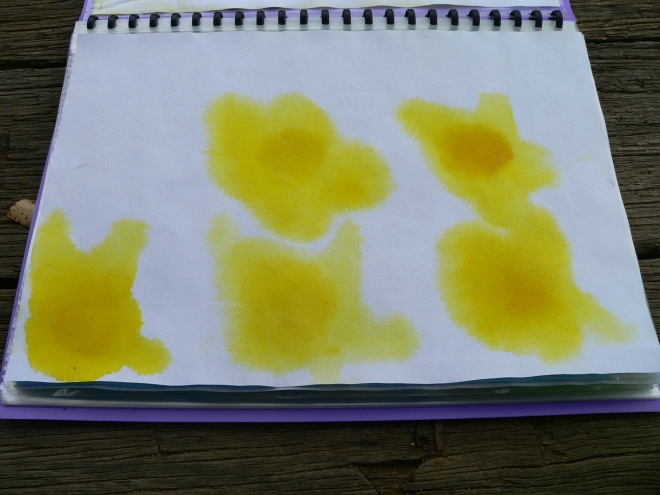
We began with Yellow. Using a strong citrus yellow, brightening the bottom of the page, and lightening to white at the top of the page.

10th March 2014 013

Next creating star or sun shapes with citrus yellow, and then adding warmth to their centres with golden yellow.

10th March 2014 014

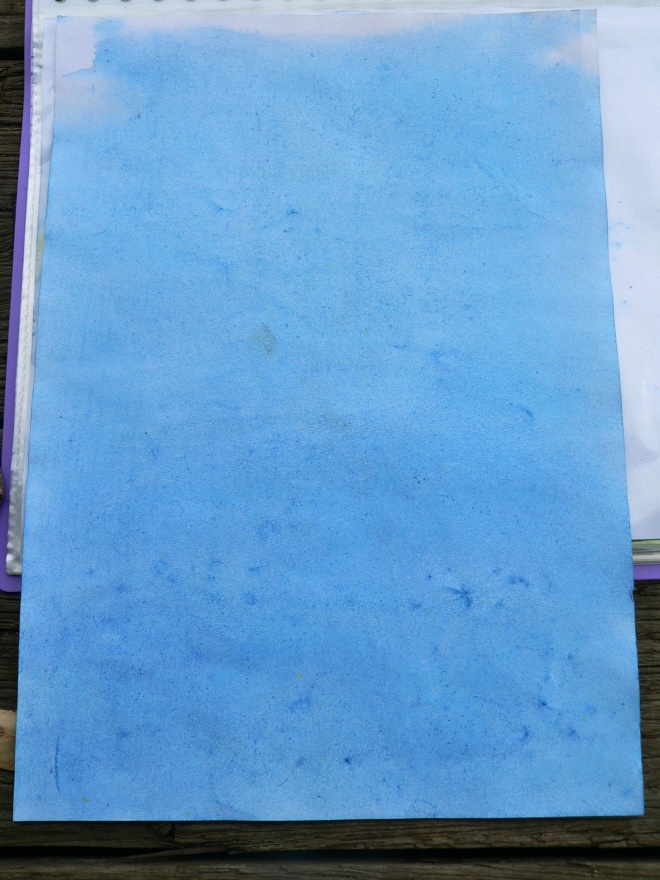
I then introduced Blue. Using prussian blue, starting with white at the top of the page, and deepening down to the bottom of the page.

10th March 2014 007

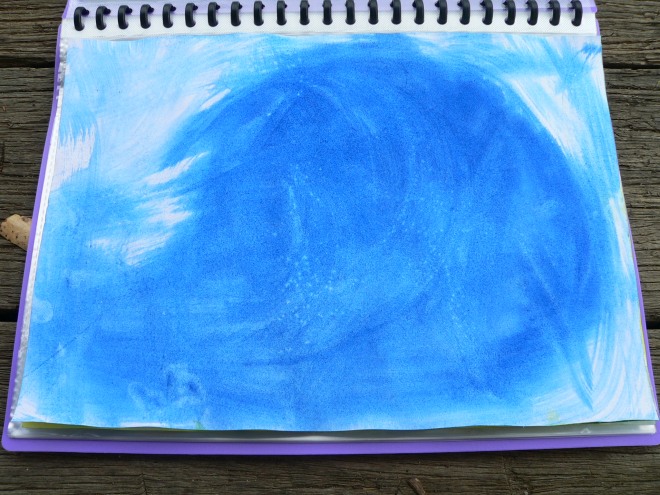
A free painting by Anusha with blue that we thought looked a lot like a wave.

10th March 2014 008

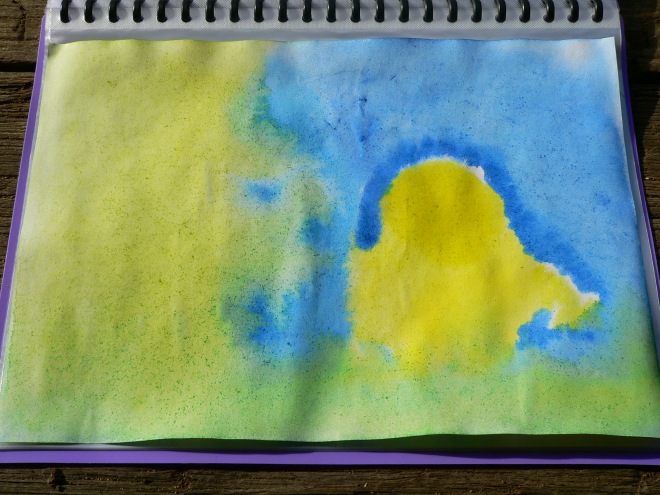
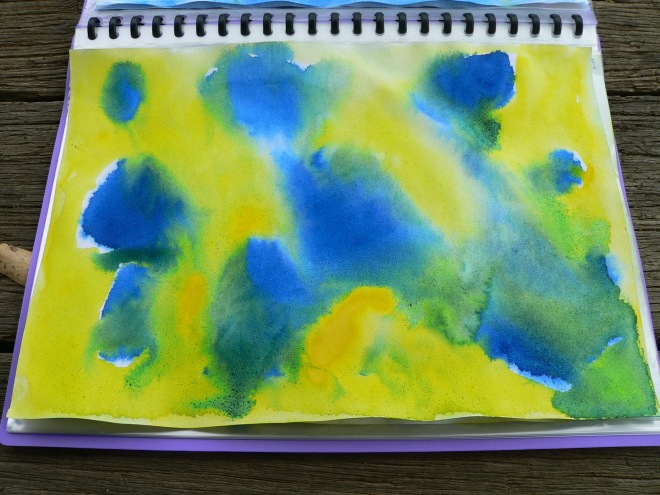
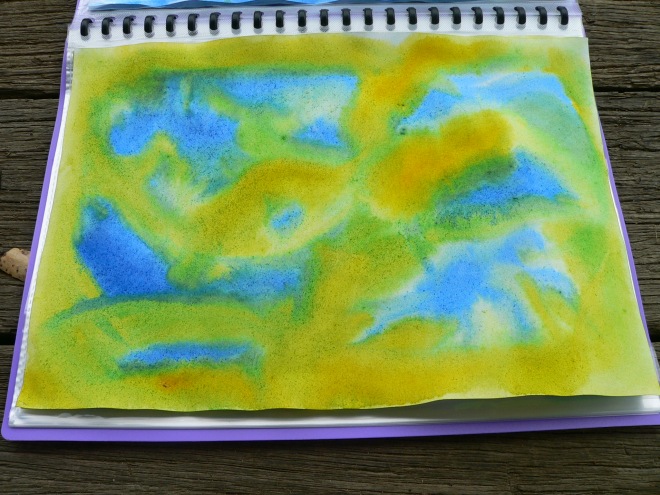
We then introduced blue and yellow to each other, firstly the yellow did not want to get too close to blue,

10th March 2014 010

but then they greeted each other and green started to form. These paintings used the citrus yellow and prussian blue as well. Some golden yellow was added to the citurs yellow at the end to add warmth to the page.

10th March 2014 012

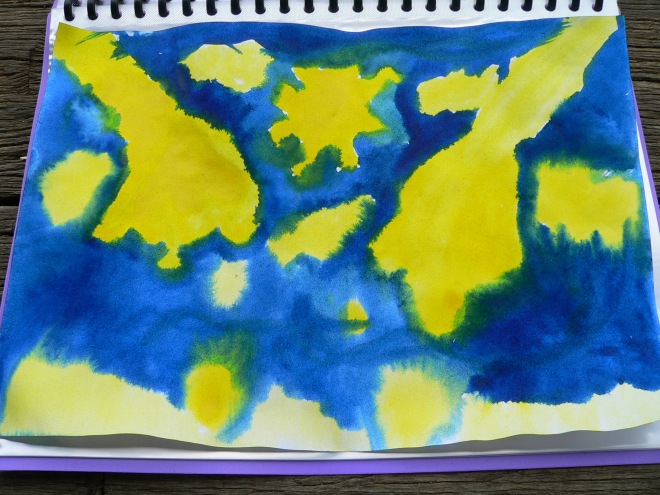
The next lesson was similar but with yellow shapes dancing across the page and blue surrounding them. Again the blue did not get too close to the yellow,

10th March 2014 048

but then the yellow was more comfortable with blue and they got to know each other better.

10th March 2014 049

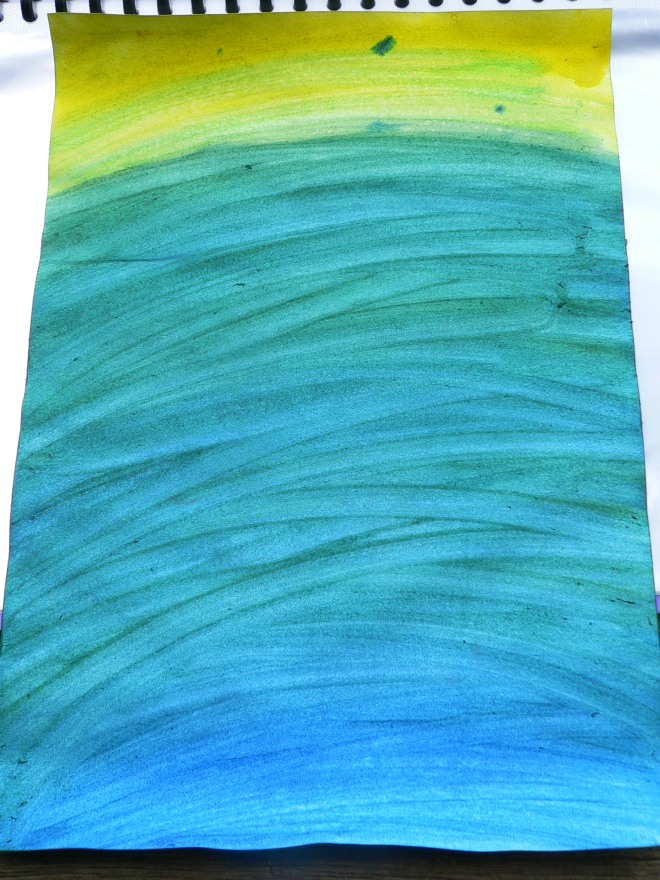
This was followed by the making of green. Starting with prussian blue at the bottom of the page, we painted up just past half way, then with citrus yellow at the top of the page, we painted down just past half way so the colours could meet and make green together.

10th March 2014 051
After the ‘formal’ part of our last lesson Anusha created two beautiful paintings on Fabriano watercolour paper that I bought just for ‘special’ paintings. She wanted to paint some pictures of shells, these were done on dry paper.

10th March 2014 052 10th March 2014 054

And that is where we are up to so far. Soon we will be meeting red!

Norse Mythology block – part 2

We have been having some holidays from homeschool lessons the past couple of weeks. We’ve had Anusha’s birthday and surprise visits for her from her grandparents, so we’ve had a very full house! Before our break we (just about) finished up Elki’s Norse mythology block.

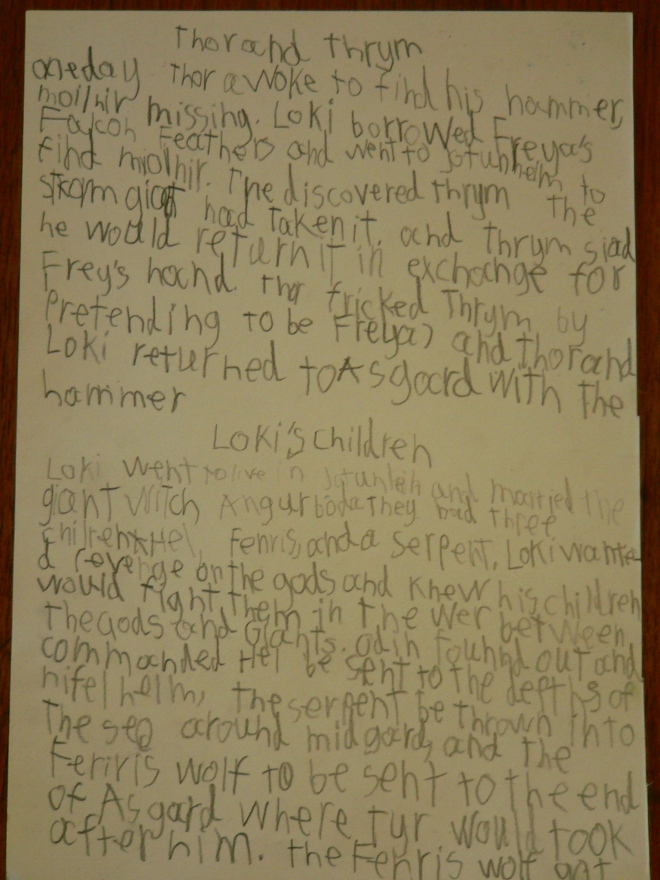
We continued on as before working through the remainder of the myths in Charles Kovac’s Norse Mythology, reading two stories each day, and following the same rhythm. The first two were Thor & Thrym, and Loki’s Children,

28th July 2013 006Elki’s Summary

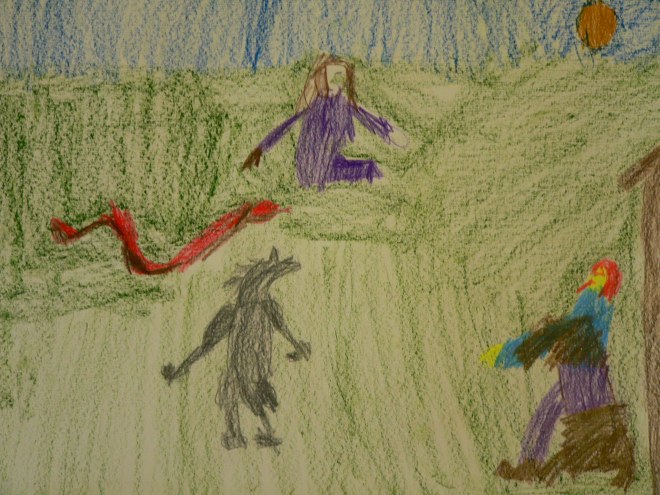
28th July 2013 003My picture depicting Loki with his children, the Fenris Wolf, the Midgard Serpent, and Hel,

28th July 2013 002And Elki’s picture.

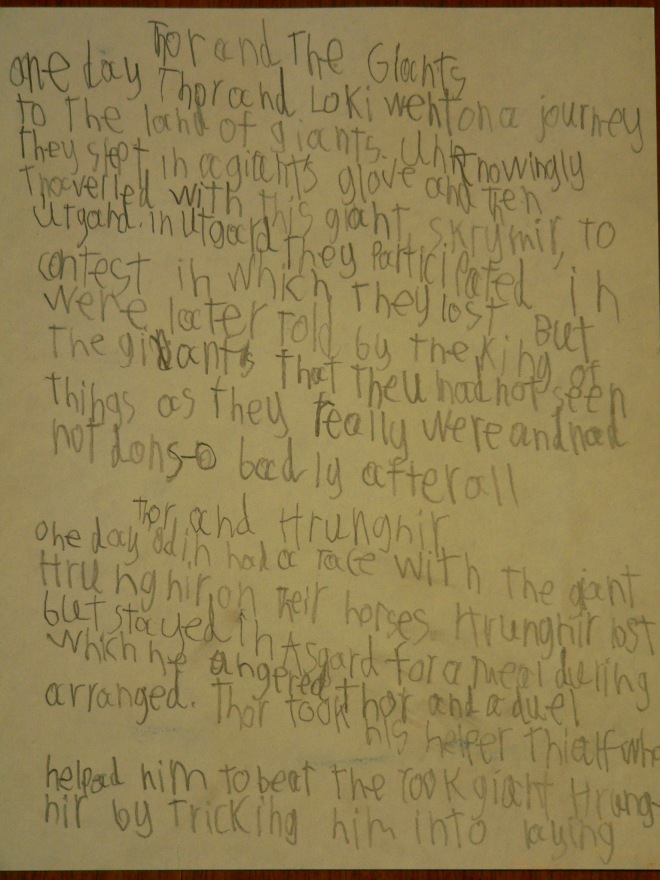
We then continued on with Thor & the Giants, and Thor & Hrungnir,

28th July 2013 00928th July 2013 013My picture of Thor fighting the giant Hrungnir,

28th July 2013 011and Elki’s picture. His drawing shows Thor with a rock splinter in his head after his hammer Moilnir shattered Hrungnir’s rock hammer.

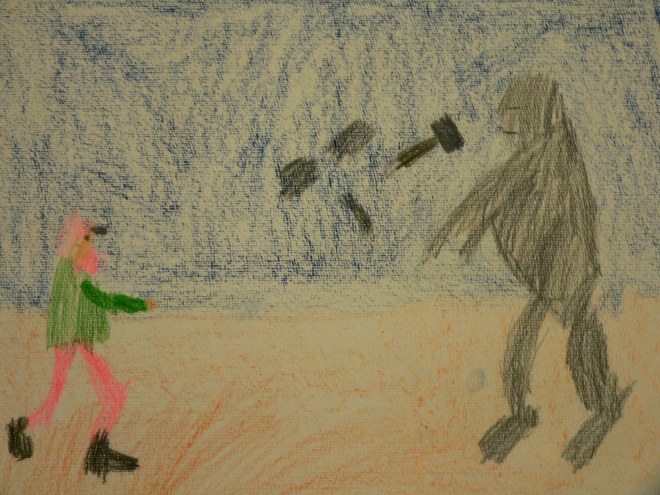
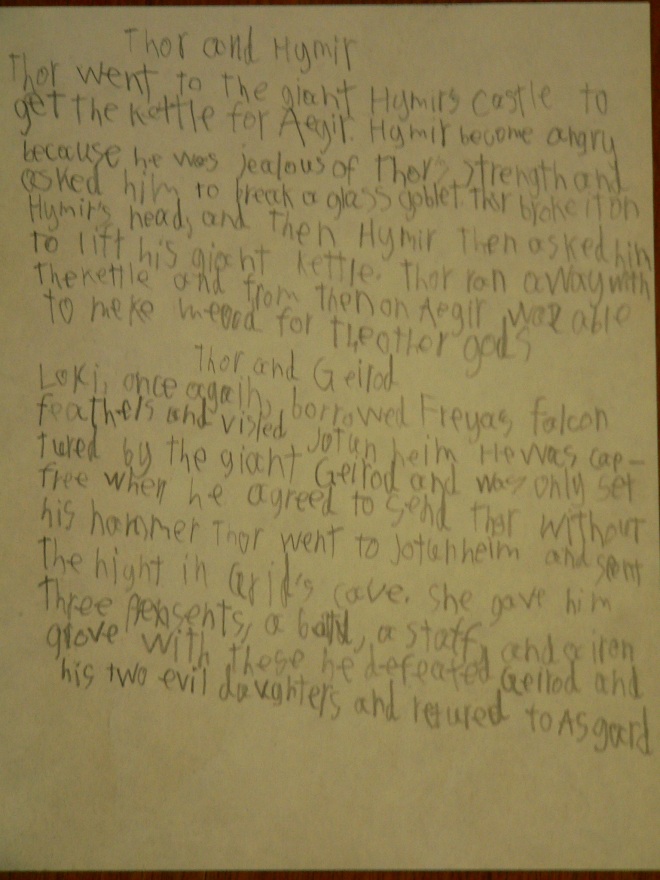
Next was Thor & Hymir, and Thor & Geirod,

28th July 2013 015

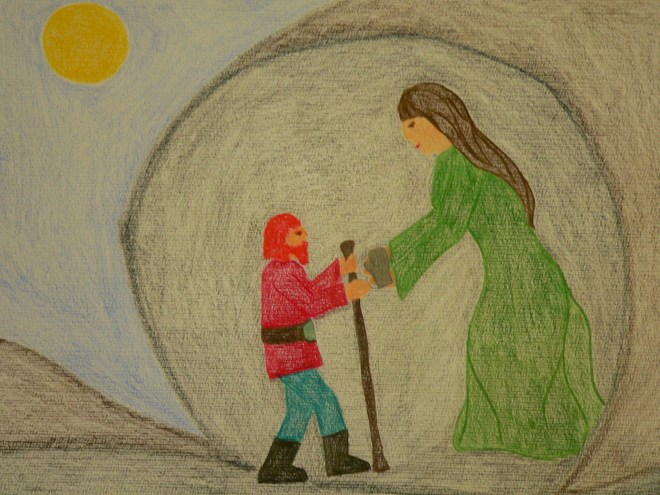
28th July 2013 018My picture showing Thor receiving the three gifts from Grid,

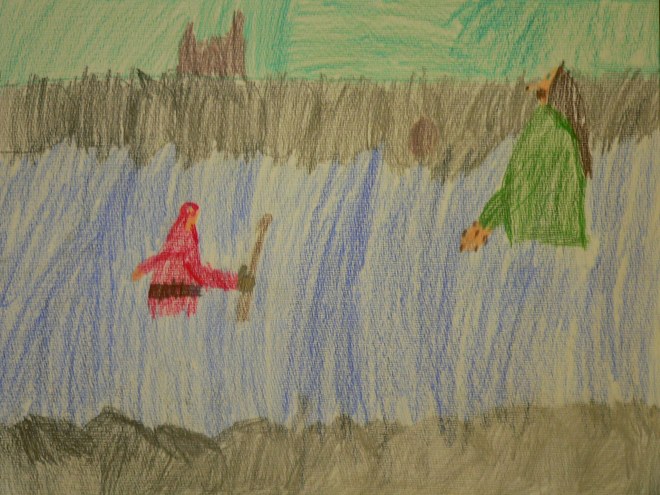
28th July 2013 017Elki decided to draw his picture differently, depicting Thor crossing the river to the giant Geirod’s house, and one of Geirod’s daughters.

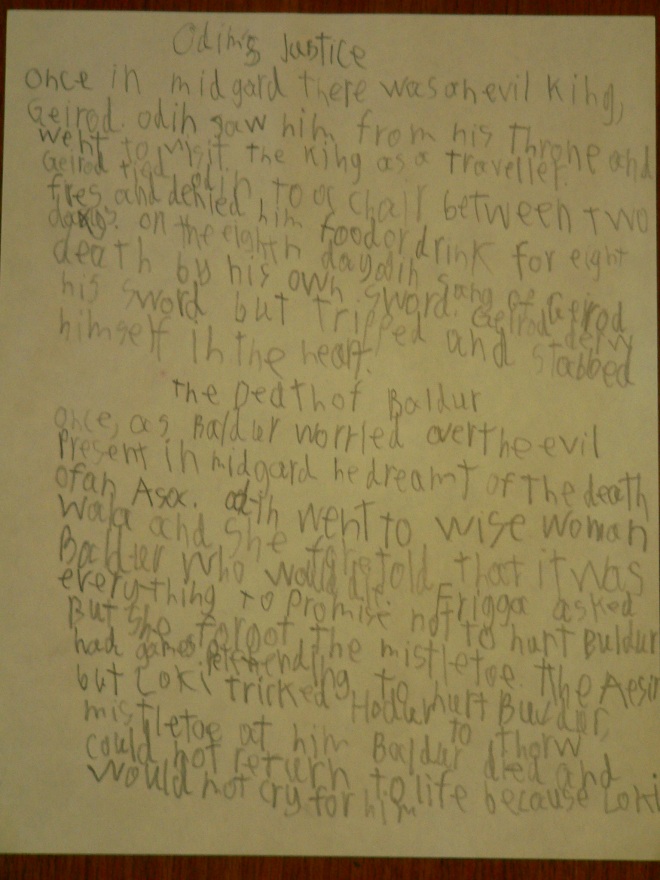
Then Odin’s Justice and (sadly) The Death of Baldur,

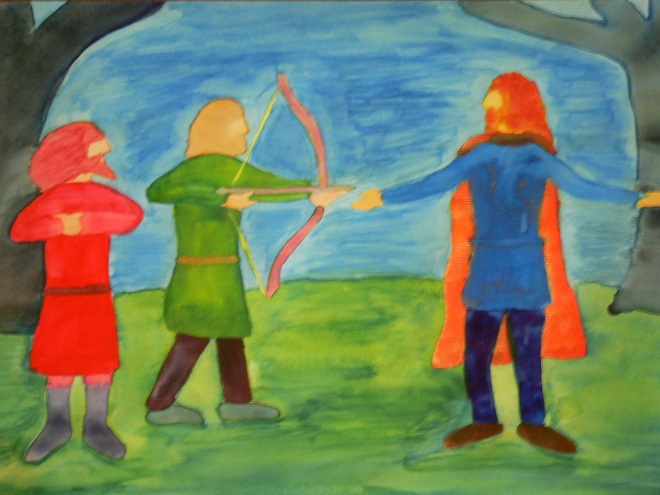
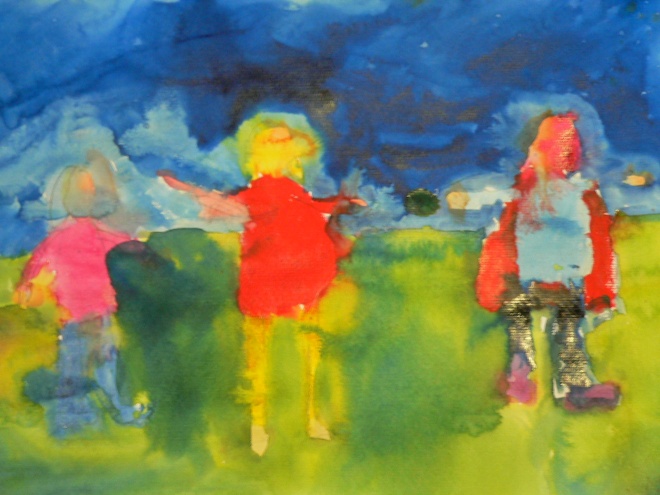
28th July 2013 020Instead of drawing pictures for the story of the Death of Baldur I gave Elki a wet on dry watercolour lesson, using a lesson I bought from Syrendell.

28th July 2013 025My painting of Baldur, Hodur, and Loki,

28th July 2013 023Elki’s painting.
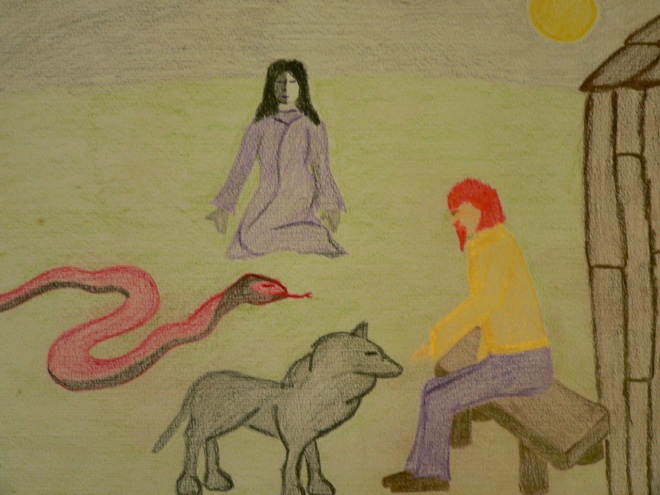
I found the lesson from Syrendell very helpful. I really needed more inspiration and practical ideas for approaching watercolour painting with Elki now that he is getting older. I really enjoy the process of watercolour painting but Elki finds it very difficult and quite frustrating at times. Scott told me he also used to find watercolour painting very difficult as well, so it is something I am trying to take a relaxed approached with and really just aim for Elki to enjoy the process, and not worry too much about the final outcome.

I also bought a wet on wet lesson from Syrendell of Loki, which I gave to Elki earlier on when we were working on the story of Loki’s children.

28th July 2013 027Here is my wet on wet painting of Loki,

28th July 2013 026and here is Elki’s. In this lesson we worked on some new techniques, such as, taking paint off with a clean brush, and trying to create more form with wet on wet than what we have in the past when Elki was younger. We were also lucky that during the school holidays here we were able to go to a wet on wet Norse mythology workshop that was held in Hobart by a local Waldorf teacher. I joined in, and after a story was told we all painted a picture of the Goddess Hel. Elki enjoyed this and it was good for me to see how a wet on wet painting lesson was approached by a trained Waldorf teacher.

And the last two myths we read were Loki’s Punishment and Ragnarok. We haven’t written a summary or created pictures for these yet. We are going to have a last lesson this week before moving onto a maths block next week. I am thinking that a big, colourful mural would be awesome for Ragnarok! Once we’re finished I will put all of Elki’s work together and make it into a book of Norse Mythology for him to keep. I really loved the Norse myths and thoroughly enjoyed reading them to Elki. The only criticism I have of Charles Kovac’s book was that at the very beginnnig and end he incorporated Christianity into the stories. I found this very unnecessary and out of place in a book of Norse myths and chose not to read these parts to Elki, and if you are not of Christian faith it may be something to consider if looking at a book to use for this block.

Next we are moving onto Maths. We will be working on Geometry and I will be introducing Elki to fractions. He even asked if his next block could be Maths, and I think we will both enjoy the change from Language/Arts work.